Let’s be honest:
Most people don’t start creating digital products because they “don’t have time”…
They don’t start because they think it requires:
• A $3,000 camera
• Fancy studio lighting
• A YouTube-influencer voice
• Three months of editing
• The courage to put your face online
• (…and the emotional stability to watch yourself on video without cringing)
But here’s the new reality:
You can build an entire slide-based video course — with your voice, your clone, your expertise, your branding, and zero filming — all inside a simple workflow powered by AI.
Yes… you can literally teach a full online course without showing your face or turning your house into a half-finished film set.
And it all starts inside informationsystems.io.
Below is the full journey — the fun, the magic, the “how is this real?” moments — supported by your screenshots.
Step 1: Log In and Enter the Digital Launchpad Studio
Your creative adventure begins inside your dashboard.
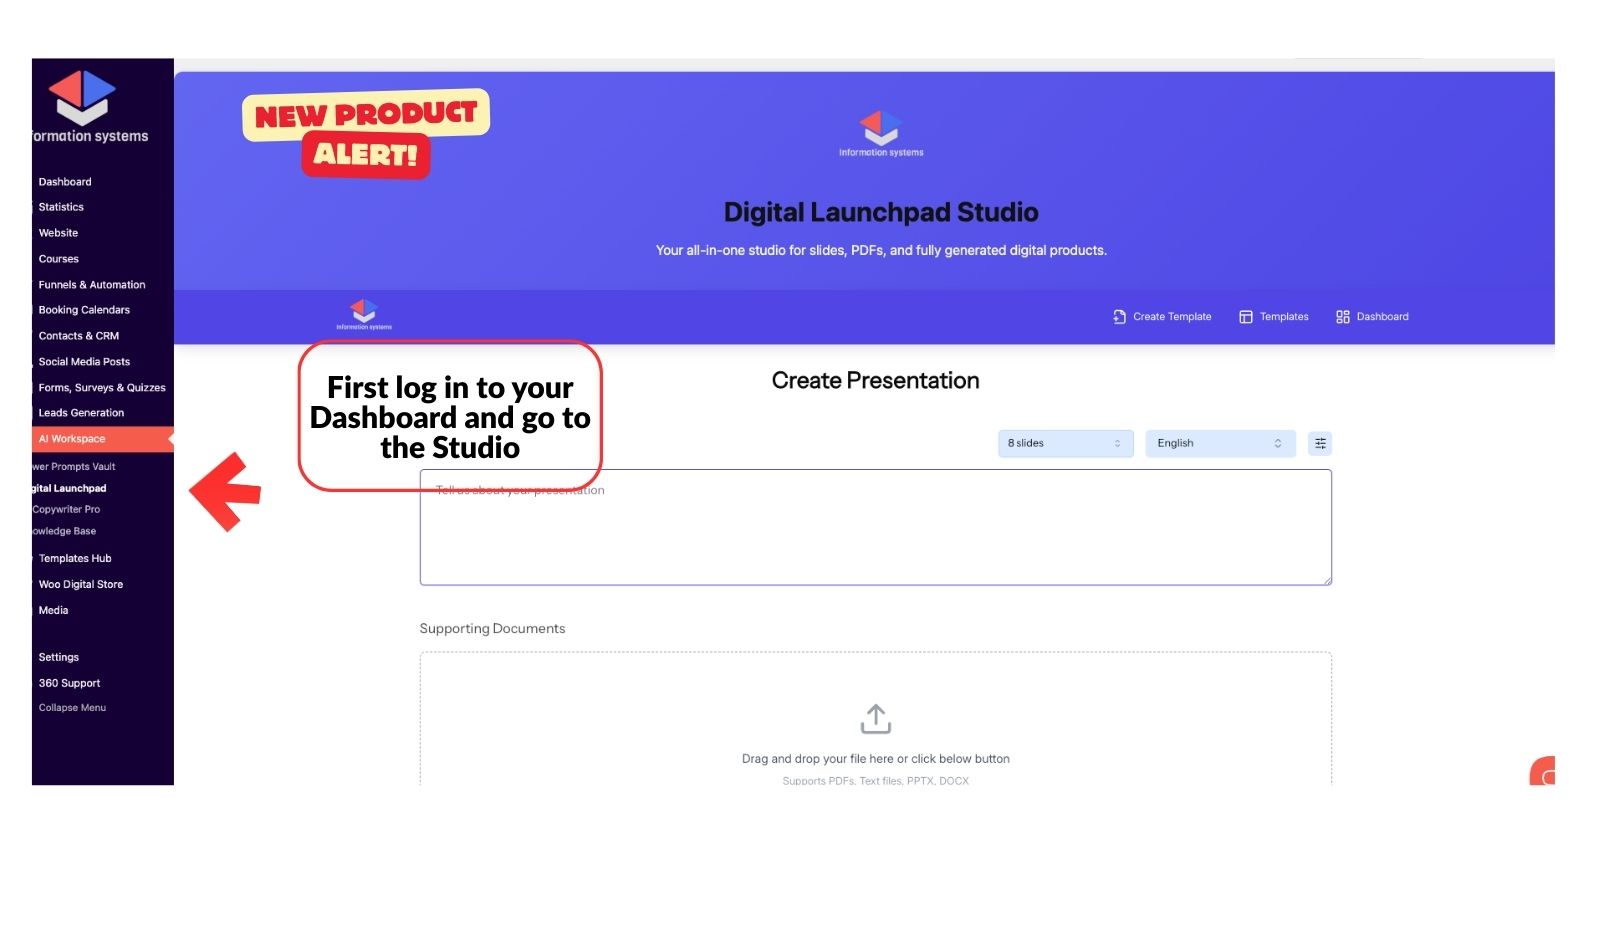
Click “Digital Launchpad Studio.”
This is your AI-powered factory for turning ideas into beautiful slides, branded assets, PDFs, and full digital products.
It’s basically what PowerPoint would’ve been if PowerPoint:
• Knew how to write
• Could design like a senior graphic designer
• Didn’t traumatize us in middle school
Step 2: Tell the Studio What You Want to Create
Here’s where things get fun.
In the big text box, you describe — like talking to a friend — what kind of presentation you want:
“I want a 6-slide course module on overcoming burnout.”
“I want a 12-slide workshop teaching beginners how to invest.”
“I want a short, punchy deck to sell my wellness coaching service.”
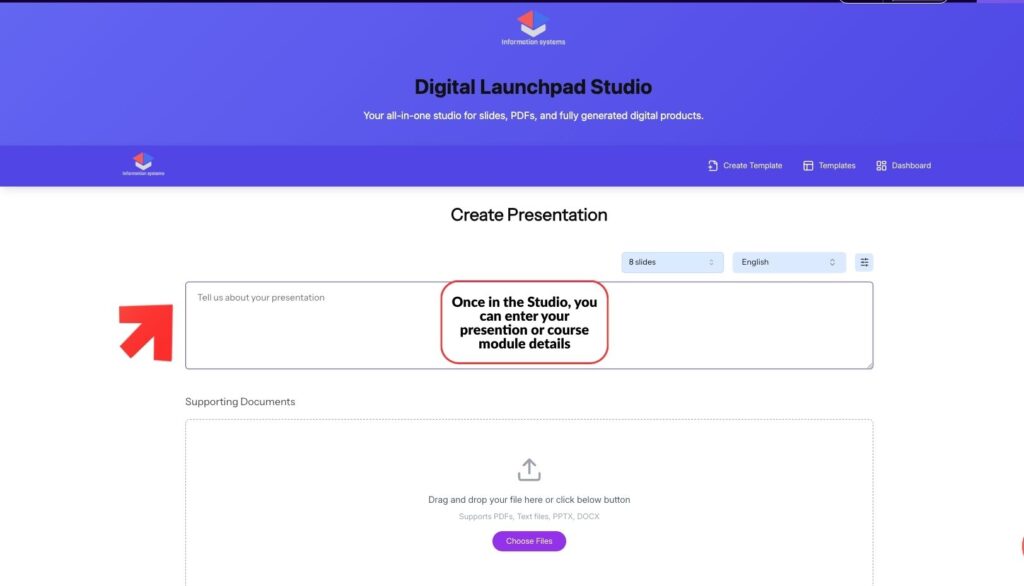
You choose your number of slides.
Your language.
And optionally upload PDFs or notes to help the AI understand your content.
No outlining
No guessing
No rewriting
The studio builds the entire slide structure for you — including flow, visuals, talking points, titles, and layout suggestions.
Step 3: Pick a Template (or Become Your Own Designer)
Next, you go shopping for aesthetics.

Choose a theme:
• Modern
• General
• Standard
• Swift
• Pitch Deck
• Minimalist
• Corporate
• Sleek + bold
Every template already looks like something you’d see in a $497 course.
Your job is simple:
Pick the one that makes you say “Yup — that one.”
Step 4: Edit Your Slides Like a Creative Director
Now you’re in the editor.

You can tweak:
• Text
• Font sizes
• Images
• Colors
• Icons
• Layouts
Every adjustment is instant — and honestly, dangerously satisfying.
At this point, your deck is already nicer than most slides people pay freelancers for.
And YOU made it… in minutes…
while possibly wearing pajamas…
with zero photography, zero Adobe, and zero stress.
Step 5: Export Your Slides
Hit PDF or PPTX.
Boom.
Your lesson is now a real, tangible digital asset — ready to become a video.
Step 6: Turn Your Slides Into a Real Video (Without Filming Yourself)
This is where the magic multiplies.
Open a video tool like:
• VEED.io
• Canva
• InVideo
Upload your slides.
Now you can add:
• Voiceovers
• Music
• Transitions
• Timing
• Captions
And here’s the part everyone loves:
You can add an AI avatar clone that looks and speaks like you — without recording anything.
Yes.
You upload a picture and a sample voice clip…
And suddenly you have:
A digital version of you
who never messes up lines
never complains about retakes
and never asks for coffee breaks.

Your clone will:
• Read your script
• Present your slides
• Look professional
• Maintain your brand voice
• Deliver consistent video lessons
This is how creators now build WEEK-LONG courses in a WEEKEND.
No camera.
No lights.
No awkward “why do I blink like that?” moments.
Step 7: Download Your Final Video and Bring It Home
Once you’re happy with your masterpiece, download the HD version.
Your video is now a complete learning module — polished, professional, and unbelievably fast to produce.
Step 8: Upload Your Video Inside Your Course Builder
Return to your WebApp at informationsystems.io.
Open the Course Builder.
Paste your lesson description, add images, upload your video, and configure your module.

Select:
• Pricing model
• Difficulty level
• Categories
• Drip schedule (if you want)
Your course begins taking shape — piece by piece — and every module can be generated the same way.
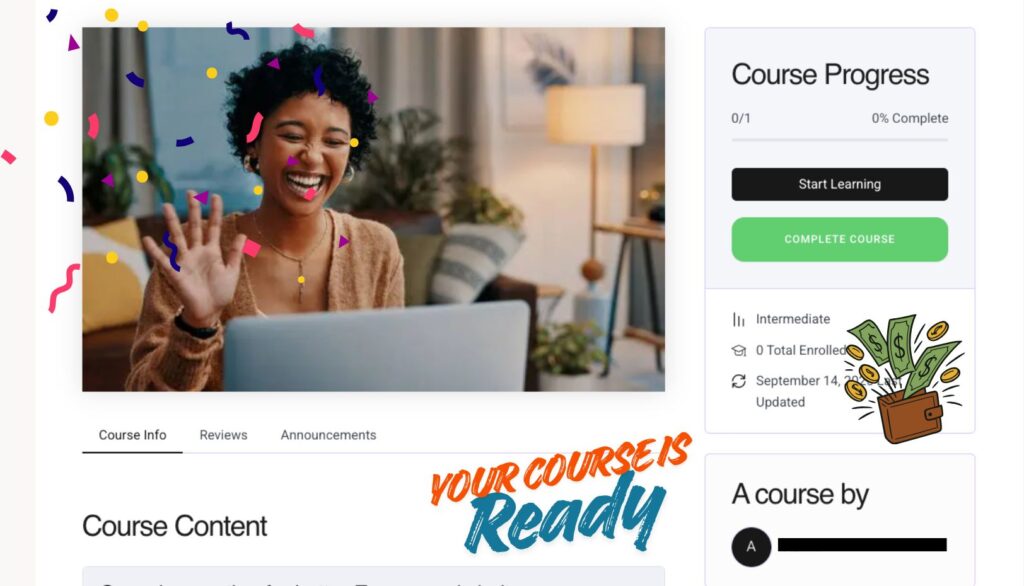
Step 9: Publish, Celebrate, and Watch Your Course Come Alive
Hit publish.
Your course page is now active — complete with your first module, your clone, your slides, and your expertise packaged into something you can SELL.
It feels surreal the first time.
You’ll think:
“Did I really just build a course without spending months filming?”
“Did I really create a clone that teaches for me?”
“Why wasn’t this available YEARS ago?”
This is the new way.
Fast.
Flexible.
Face-free if you want it.
AI-assisted, but YOU-powered.
Final Thoughts: You Don’t Need a Studio, a Camera, or a Full Team. You Need a System.
For years, digital product creation felt overwhelming.
Now?
You can generate slides
Convert them into video
Add an AI presenter
Upload into your academy
And sell it worldwide
All inside a workflow you can learn in ONE afternoon.
This isn’t the “future of course creation”—
it’s the present.
And you can start right now with a 14-day free trial at informationsystems.io.
No risk.
No pressure.
Just possibility.
Your idea deserves to exist.
Let AI help you bring it to life.